Start with what you can actually see
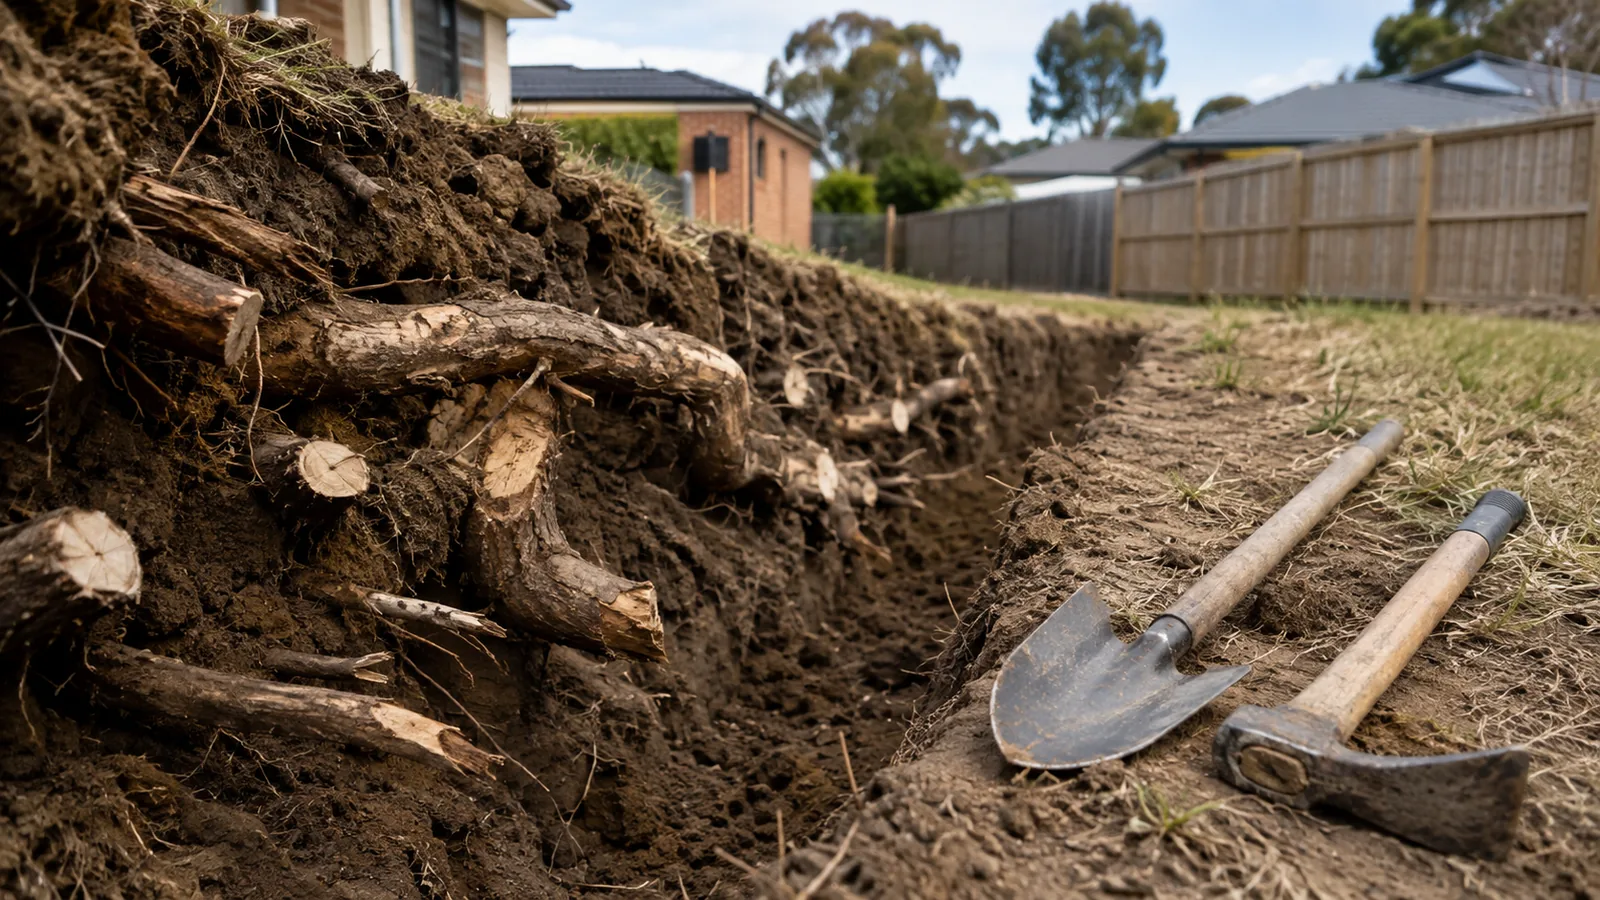
A buried stump may first appear as a curved timber surface while gardening, a woody obstruction beneath turf or old roots exposed after a bed is cleared. Photograph the material where it sits and include the surrounding garden. A close image shows texture; a wider image explains its position relative to the house, paths, fences and other trees.
Stop enlarging the hole simply to find out how big the timber is. Unknown ground can contain services, rubble or unstable edges. If a hole has appeared suddenly, the edge looks unsupported or water is actively flowing through it, keep people and animals clear and arrange an appropriate assessment. Treat those signs as a ground or drainage question, not automatically as a routine stump quote.
Do not diagnose a depression from shape alone
A roughly round low spot where a tree once stood may suggest a relationship, but it does not prove the cause. Settlement of imported fill, disturbed soil and drainage problems can also change levels. The RHS notes that woody fill can lower the ground level as it decays. That is one possible mechanism, not a diagnosis of every sunken lawn.
Record whether the depression is new, slowly changing or repeatedly reappearing after top-ups. Note whether it holds water and whether nearby paving or structures have changed. Keep observations separate from conclusions when contacting a contractor. Saying that a patch sinks after rain is useful evidence; saying the old stump is definitely responsible may steer the investigation away from another cause that needs attention.
Find the garden's earlier history
Look for old property photographs, garden plans, removal invoices or images taken before landscaping. These may show where a tree stood, how large its base was and what happened after removal. If you recently bought the property, ask for available records rather than relying on an assumption that all earlier work was complete.
A dated photograph can also reveal that the visible timber was once a fence post, garden edging or part of a raised bed. Keep copies together with the new observations. The purpose is to give the person inspecting the site a useful starting point, not to assign blame for work whose scope is unknown. Older photographs should be labelled by date so they are not mistaken for the garden's current condition.
Distinguish natural roots from buried building material
A curved root with branching structure suggests a different origin from a straight squared timber end. Old posts may have nails, brackets or concrete around them. Garden beds can contain mixed material from several periods of landscaping. Explain any visible differences to the contractor and keep unknown timber separate from material intended for garden reuse.
Do not assume all wood can be ground and spread as mulch. Treated posts and construction timber need appropriate identification and handling. Likewise, do not pull buried metal or use cutting machinery to see what it is attached to. If the material is mixed with unknown debris, agree an investigation and disposal approach before asking for a simple stump-grinding price.
Tell the contractor if the visible timber has a regular spacing or alignment with other objects. A row of equally spaced cut ends along a former fence suggests a different history from branching roots around one centre. Old photographs may confirm that distinction. Leave uncertain material in place for identification rather than cleaning every surface so aggressively that useful context is lost. The relationship between wood, concrete and nearby features can be more informative than a detached piece photographed on its own.
Establish the extent before choosing a machine
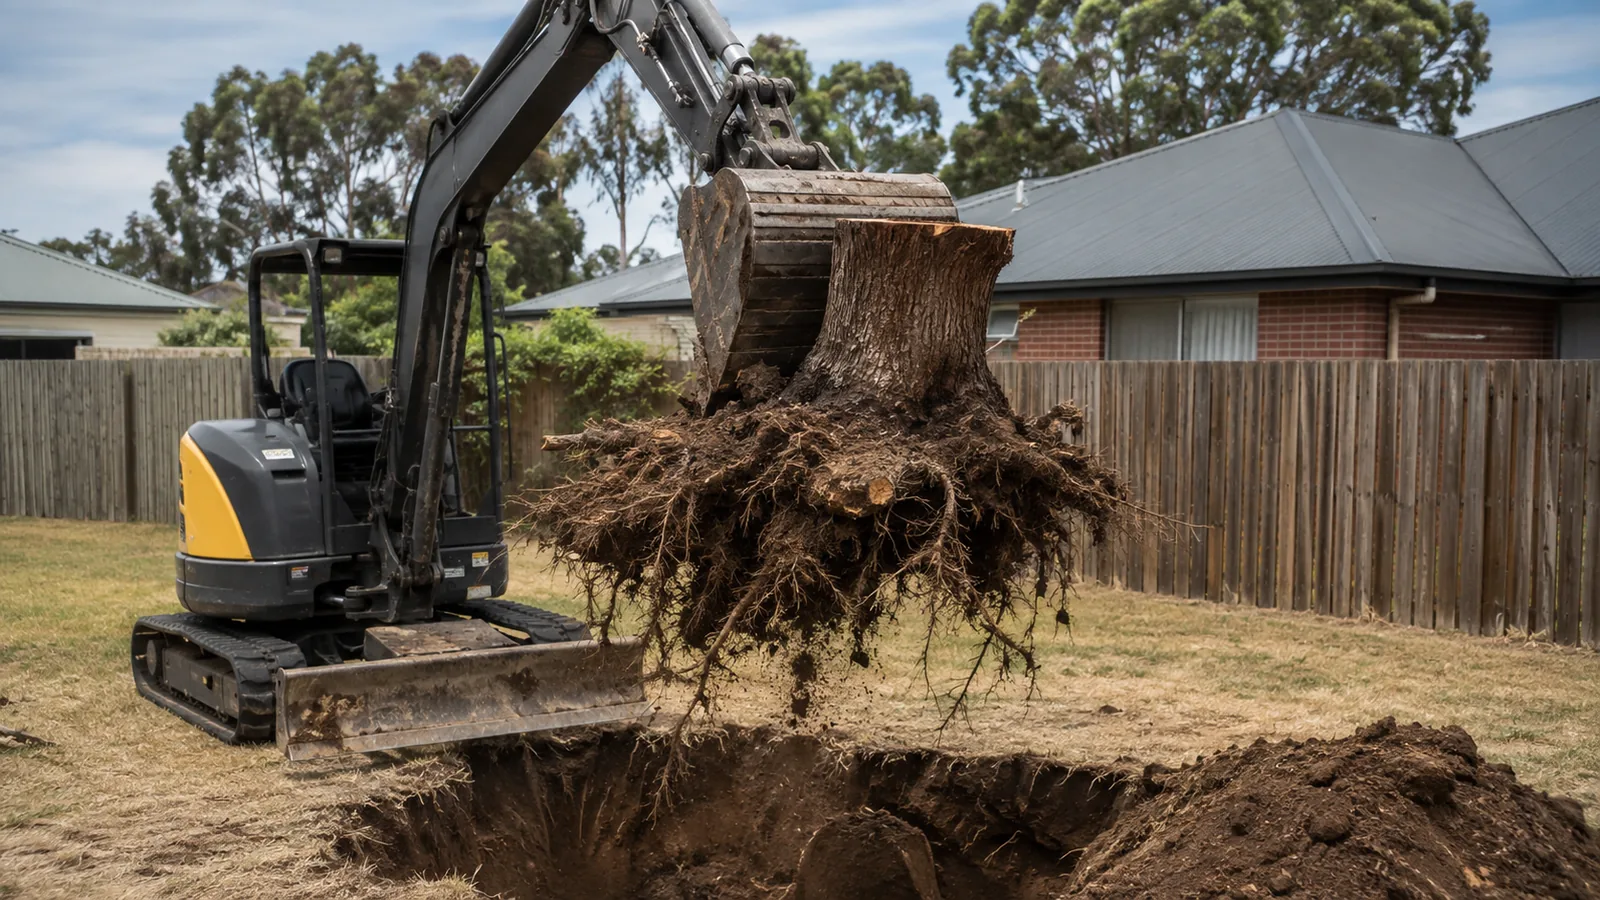
The visible timber may be the top of a central stump, a lateral root or a detached piece of wood. Each can require a different method. Ask the contractor what can be established without unnecessary disturbance and what further investigation is needed. A machine suitable for a clearly exposed stump may not be the right starting point for a patch containing unknown material.
Mark the intended work area and any limits imposed by paths, walls, services or retained plants. Discuss how discoveries will be recorded and how the scope would change if more timber appears. Avoid an open-ended instruction to remove everything underneath the garden. Define the problem you need solved and agree how decisions will be made as the ground becomes better understood.
Identify who needs the ground next
A lawn repair, replacement tree and shed foundation do not ask the same thing of the prepared area. Tell the stump contractor what follows the removal. If another contractor will install a structure or surface, ask that person to define what they need inspected and accepted before covering the ground.
Removing visible timber is not evidence that an area is ready to support construction. There may be disturbed soil, loose fill or additional roots outside the cleared patch. The relevant installer or designer needs to assess the ground for their work. Make that acceptance a separate step in the plan, with photographs or an inspection before material is brought in to hide the excavation.
Keep a simple location record
Measure the visible area relative to fixed features that are unlikely to move, such as a building corner or established path. Sketch its outline and label photographs with the same reference. If several pieces of timber appear, give them separate labels so the contractor can tell whether you are showing different objects or several views of the same one.
Record any previous top-ups, including when they were done and what material was used if known. A photo of a flat surface immediately after filling does not show that the underlying issue was resolved. Later photographs from the same position help explain the change. There is no need to probe deeply or drive stakes into unknown ground to improve the sketch; use surface references.
Hypothetical example: the same lawn patch keeps sinking
A homeowner has topped up a depression twice and now finds a curved piece of timber near its centre while removing weeds. They remember a tree in that part of the garden but have no removal record. Instead of adding another load of soil, they collect old photographs and compare the former tree location with the current low spot.
The visible timber is photographed and the area is kept clear for assessment. The homeowner explains that the intended finish is lawn, while also mentioning water that collects after rain. The contractor can investigate the wood and discuss whether another drainage or ground specialist is needed. The plan addresses the evidence in front of them instead of treating repeated filling as proof that the problem is minor.
Agree how the hole and spoil will be managed
If investigation or removal leaves an opening, decide how it will be secured and when it will be reinstated. Consider household access, pets, children and the possibility of rain before the next visit. A temporary barrier is useful only if everyone understands that the area remains out of use and who is responsible for maintaining the barrier.
Agree where removed material will be placed and how different materials will be kept apart. Soil mixed with roots is different from a pile containing old posts, metal or concrete. Do not allow the easiest temporary dumping place to block a gate, drain or access needed by the next contractor. Include those arrangements in the scope so cleanup is not left as an assumed extra.
Avoid repairs that conceal unresolved evidence
A fresh layer of turf can hide an uneven patch without explaining why it developed. Pavers can do the same while making future investigation harder. Before covering the area, ask whether the cause has been assessed and whether the proposed preparation suits the finished surface. If something is still uncertain, record it explicitly and decide who will resolve it.
Another mistake is filling around large remaining pieces of wood because removing them looks inconvenient. That may or may not suit the intended use, but it should be an informed decision rather than a hidden shortcut. Ask what remains, where it is and how it affects the next stage. Keep those answers with the completion photographs so future garden work starts with better information.
Inspect before accepting the next stage
When the site is safe to enter, compare the completed work with the agreed marked area. Ask the contractor to identify timber deliberately left in place, material removed and any new issue uncovered. Photograph the exposed condition before reinstatement where practical. The handover should explain what was done and what still needs assessment.
For a lawn, clarify the soil and finishing work included. For planting, involve the person who will prepare the root zone. For structural work, let the relevant installer or designer accept the ground. These distinctions prevent a statement such as stump removed from being mistaken for approval of every future use. A clear handover is especially valuable when different trades visit on different days.
Send a useful first enquiry
Include your Pakenham-area suburb, the location of the exposed wood, current photographs and any historical image showing the former tree or garden feature. Describe how you found it and whether the ground has changed over time. Mention water, nearby structures, services and the intended future use without trying to diagnose the cause yourself.
Ask for assessment of the buried material and the next investigation step, rather than booking a particular removal method immediately. If the extent is unknown, say so. The tool below turns your observations into a short brief you can download and keep with the photos. Better information helps the contractor distinguish a straightforward stump obstruction from a broader ground issue that needs a different person involved.